Installing Deck Tiles on Grass? DIY Solutions You Need to Know!
|
|
Time to read 8 min
|
|
Time to read 8 min
Transforming your outdoor or indoor space can feel like an overwhelming project with endless possibilities. But don't worry, we're here to help you create the perfect DIY space that’s both beautiful and functional.
Why you can trust us:
Ready to get started? Visit our store to explore our range of products.
Table of Content
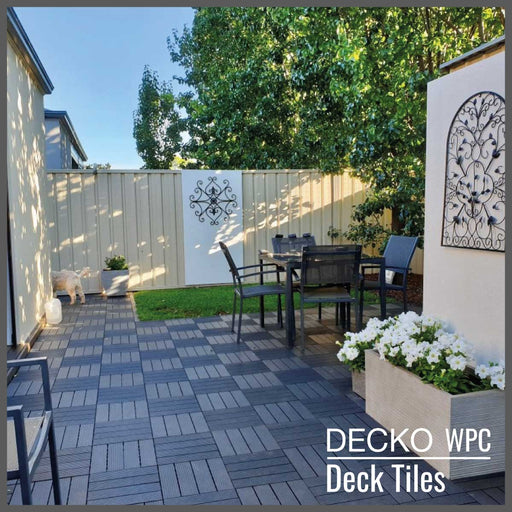
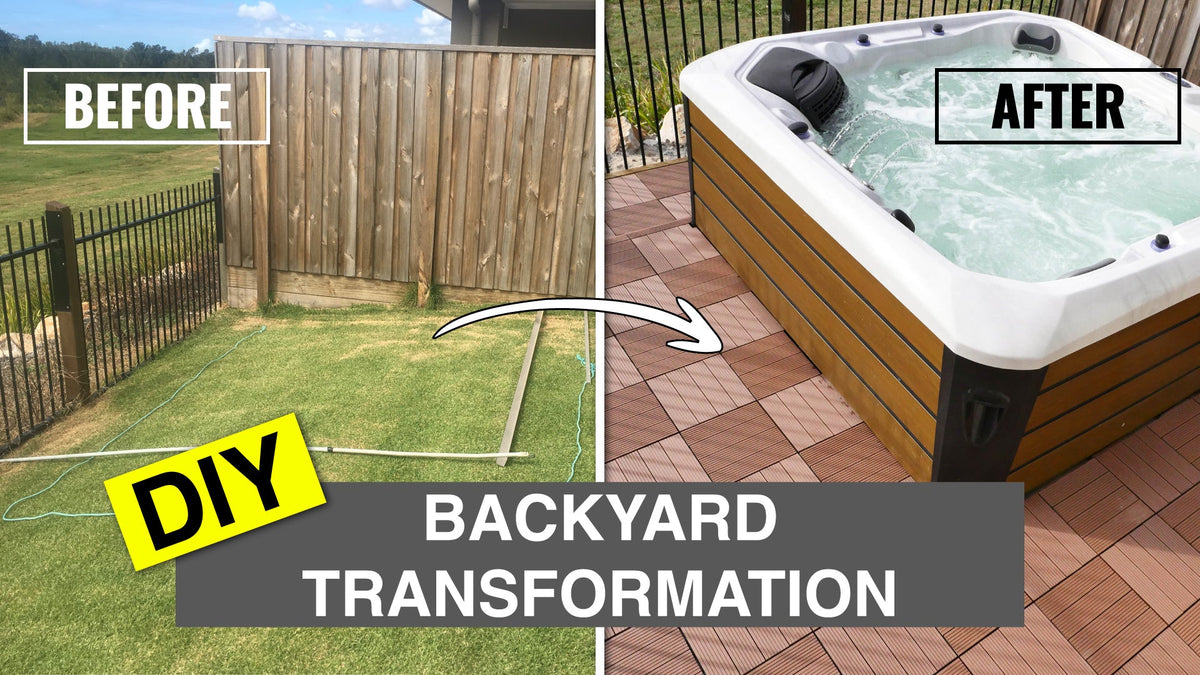
Are you dreaming of a beautiful outdoor space but not sure if you can install deck tiles on grass? You’re not alone! Many homeowners wonder if they can skip the hassle of removing grass and laying concrete by simply installing deck tiles directly over their lawn. While installing deck tiles on grass may seem like an easy option, grass is an unstable and uneven surface. Over time, the grass can grow, shift, and cause your deck tiles to become uneven or even damaged due to trapped moisture.
In this blog post, we’ll explore the best methods for installing deck tiles on grass and provide practical tips to ensure a stable, durable surface that lasts. Whether you’re planning a new patio, a garden walkway, or a cozy seating area, this guide will help you create a stunning, functional outdoor space with ease. Let’s dive into the details!
Order a Decko Tiles Sample - Try Before you Buy!
Because we are asked how to install deck tiles on grass we thought this might help. Here are two great options for creating a stable surface for your deck tiles while working around the challenges of grass.
One of the easiest and most effective DIY solutions for installing deck tiles over grass is to use paver base panels. These panels are lightweight, durable, and provide a stable, level surface for your deck tiles. The best part? You don’t need to dig up your entire lawn to install them.
Materials You’ll Need:
Step-by-Step Instructions:

“I feel that the best way to enjoy your own garden is to create a space that feels like a retreat from the outside world—a peaceful, beautiful sanctuary.”
If you’re looking for a more permanent solution, creating a solid sub-base with road base and pavers is another excellent option for installing deck tiles over grass. This method requires a bit more effort, but it ensures maximum stability and longevity for your deck tiles.
Materials You’ll Need:
Step-by-Step Instructions:

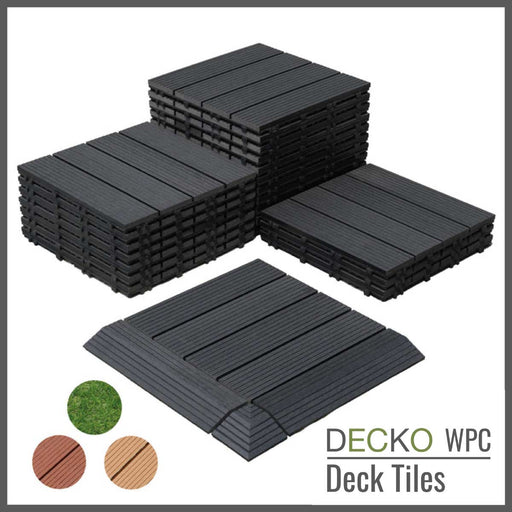
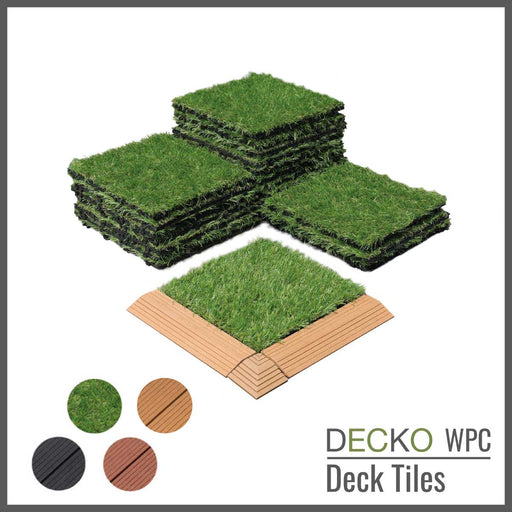
Deck tiles, especially those from DECKO, are a fantastic choice for DIY outdoor projects. Here’s why:
Conclusion: Achieve a Beautiful Outdoor Space with DECKO Deck Tiles
Creating an outdoor space you love doesn’t have to be complicated or expensive. With deck tiles, you can easily transform your backyard, patio, or garden into a functional and stylish area. While you can’t install deck tiles on grass directly, the DIY solutions we’ve shared—using paver base panels or creating a solid sub-base with pavers—offer practical, affordable ways to achieve a stable, long-lasting deck tile installation.
By following these easy steps, you can enjoy the beauty and functionality of deck tiles in no time. So, why wait? Start your next DIY project today and experience the difference that DECKO deck tiles can make in your outdoor space!
The Author: Kyle Rodgers
Kyle is a media content creator for DECKO DIY Home Improvement and an active DIY enthusiast. With a passion for hands-on projects and years of experience in creating engaging home improvement content, Kyle loves helping homeowners discover easy and affordable DIY solutions. When not working on new media projects, Kyle can be found exploring the latest trends in design and tackling DIY projects at home."
Products Featured In This Blog
DECKO Tiles come with a 10-year proven warranty. See more on the warranty page. Commercializing since 2013 without any claims or warranty issues!
● NO, not even when they are wet. DECKO Tiles have a textured surface that provides excellent slip resistance, making them suitable for use around pools, spas, and other wet areas.
● We don’t recommend that you leave them standing/soaking in water as moss or other slippery debris could accumulate. They are waterproof and designed to let water run off under.
● NO! They are made of a composite material that has a high percentage (55%) of recycled hardwood content.
● This gives them a pleasant wood feel barefoot and a grain texture due them sanded surface.
● These tiles are a great choice for those who want the look and feel of natural wood without the maintenance time and cost (e.g. painting, oiling, re-sanding annually twice).
● Especially if you consider that on the painted, coated timber decks barefoot you feel only the coating, but never the wood.
● There are 11 Tiles/Box, regardless of the colour chosen.
● Each box covers exactly 1 sqm of area.
● You can also order the exact number of tiles you need, and we will open boxes for your purchase.
● For a more accurate calculation (considering offcuts) please use DECKO Calculator.

● DECKO Tiles are highly durable and resistant to scratches, but in the event that the surface does get scratched, it can be repaired by sanding the area.
● A 40 grit or similar sandpaper along the grains and once the scratch is out it will look brand new due to the factory finish also using sanding technology.
● See the 3 min video from Home page to have a better guidance on the process.

● For general cleaning of the tiled surface, you can simply use a blower, broom, brush or hose or a pressure washer.
● For tough stains, you can use boiling water and detergent applied on a sponge or any outdoor cleaning agent from a hardware store.
● See the 3 min video from Home page to have a better guidance on the process.

Limited time only. Grab them before they're gone.
Buy Ramp Edges Buy Corners Download Tile Counting Grid Order Your Free Sample Specs Sizing: One Tile - 11.8"/11.8"/0.8". There are 11 tiles in a ...
View full detailsSpecs Sizing: One Tile - 11.8"/11.8"/0.8". There are 11 tiles in a 12.6"/12.6"/9.5" box.Weight: 0.77 lbs per tile, 8.6 lbs per box Descrip...
View full detailsSpecs Sizing: One Panel – 35.4" x 11.8" x 0.12"Coverage: 2.91 sqft per panel | 46.5 sqft per box (16 panels)Weight: 37 lbs per box Descript...
View full detailsIN STOCK, ready for immediate dispatch! Specs Sizing: One Panel – 11.8" x 15.0" x 0.16". Each panel consists of 4 slats (11.8" x 3.0") desig...
View full detailsSpecs Product Overview: Collection of 6 individual premium artificial hanging plants with lush, tropical foliage and a solid 100mm plastic stem f...
View full detailsBuy Ramp Edges Buy CornersDownload Tile Counting Grid Templates Order Your Customised Sample Pack Specs Sizing: One Tile - 15.75/15.75/0.7 inches,...
View full detailsOrder Samples Square Panels - 2' x 2' Specs Long Rectangular panel: 47.2" x 23.6" x 0.8" Covering 7.7 square feet. Weight: 11.4 lbs 3 panels/bo...
View full detailsBuy Ramp Edges Buy Corners Download Tile Counting Grid Specs Sizing: One Tile - 24"/12"/0.78". There are 22 tiles in a 25.2"/12.6"/18.1" box.Wei...
View full detailsOrder Samples Long Panels - 4' x 2' Specs Square panel: 23.6" x 23.6" x 0.8" Covering 3.9 square feet. Weight: 5.6 lbs 5 panels/box ORDER...
View full detailsBuy Ramp Edges Buy Corners Download Tile Counting Grid Specs Sizing: One Tile - 12"/12"/0.78". There are 44 tiles in a 25.2"/12.6"/18.1" box.Wei...
View full detailsBuy Ramp EdgesBuy CornersDownload Tile Counting Grid TemplatesOrder Your Customised Sample Pack Specs Sizing: One Tile - 15.75/15.75/0.7 inches, co...
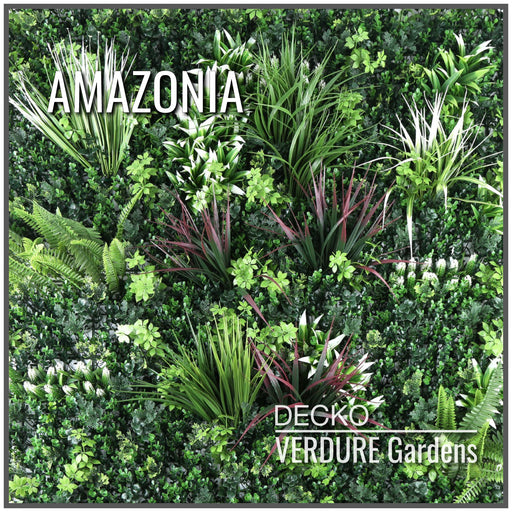
View full detailsOrder Samples Order Panel Specs Introducing Verdure: The Ultimate Artificial Vertical Garden Order Samples Now: Refundable and FREE RETURNS.* ...
View full details